How to Edit Videos Online for Free
A complete guide to editing videos in your browser without downloads or subscriptions
You recorded a video on your phone or camera. Now you need to trim the boring parts, add some text, maybe fix the audio. The problem? Most video editing software requires hefty downloads, expensive subscriptions, or both.
VidTL solves this. No installation means you can edit from any computer. No subscription means your wallet stays intact. Giving you professional editing tools without the professional price tag.
This guide walks through the complete editing process, from importing your first clip to exporting the finished video. Whether you’re creating content for social media, making a presentation, or assembling clips from a family event, you’ll learn how to handle the most common editing tasks.
Getting Started with Your First Video Project
Opening the Editor
Navigate to VidTL’s editor page in any modern browser. Chrome, Firefox*, Safari, and Edge all work fine. *Autosave is not available in Firefox yet. The interface loads directly in your browser tab. No account required to start editing, though creating one lets you save projects for later, and use more advanced features.
SCREENSHOT: { VidTL editor homepage showing the clean interface with the timeline at the bottom and preview monitor in the center }

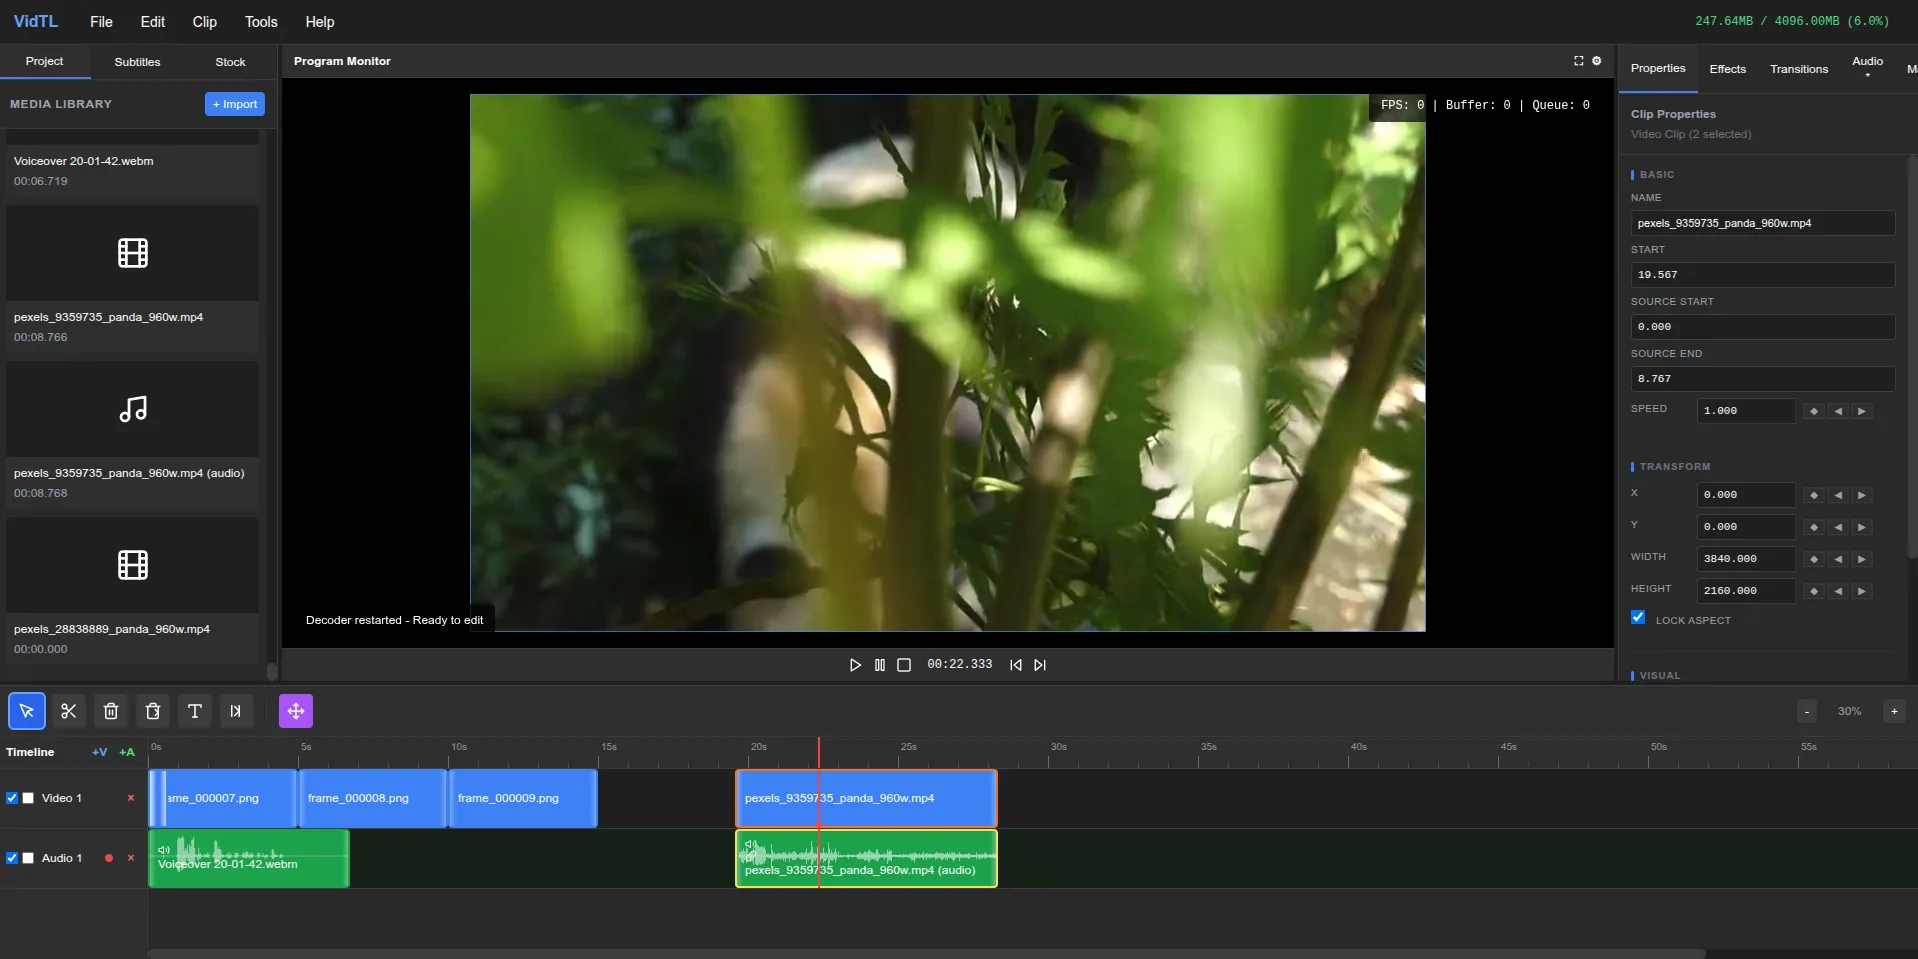
The interface divides into three main areas. The preview monitor sits in the center where you’ll watch your video playback. The left panel holds your media library, where imported files appear. The timeline stretches across the bottom, showing your clips in sequence.
Importing Your Video Files
Click the “+ Import” button in the media library panel. A file browser opens where you select videos from your computer. The editor accepts common formats like MP4, MOV, and WEBM. You can import multiple files at once by selecting several in the file browser.
SCREENSHOT: { Media library panel with the Import button highlighted and several video thumbnails displayed below }
After selecting files, thumbnails appear in the media library. Each thumbnail shows the first frame of the video and its duration. Your files stay on your computer during this process.
Adding Clips to Your Timeline
Drag a video thumbnail from the media library down to the timeline. A blue highlight appears on the timeline track as you drag, showing where the clip will land. Release the mouse button to drop the clip.
SCREENSHOT: { Cursor dragging a video clip from the media library to the timeline track }
The clip appears as a rectangular block on the timeline. The width represents its duration. Add more clips by dragging additional thumbnails. They snap next to existing clips automatically. Rearrange clips by dragging them left or right along the timeline.
Essential Editing Techniques
Trimming and Cutting Your Footage
Most videos have parts you want to remove. Maybe someone fumbled their words at the start, or the ending dragged on too long. The cut tool handles this.
Click the scissors icon in the timeline toolbar to activate the cut tool. Click anywhere on a clip in the timeline to split it at that point. The single clip becomes two separate clips. Delete the unwanted portion by selecting it and pressing Delete on your keyboard.
SCREENSHOT: { Timeline view showing a video clip with the cut tool activated and a vertical line indicating where the cut will occur }
For precise cuts, use the playhead. Drag the red vertical line to the exact frame where you want to cut. The preview monitor updates as you scrub, letting you find the perfect moment. Once positioned, press C on your keyboard to split at the playhead.
Trimming from the ends works differently. Hover your mouse over the left or right edge of a clip until small handles appear. Drag these handles inward to shorten the clip without splitting it. This keeps everything as one piece while removing unwanted frames from the start or end.
Adding Text and Titles
Text overlays can explain what’s happening, display names, or add emphasis to key moments. The text tool puts words directly on your video.
Click the text tool icon in the timeline toolbar (looks like a “T”). Your cursor changes. Click anywhere on the preview monitor where you want text to appear. A text box appears with a cursor blinking inside.
SCREENSHOT: { Preview monitor showing a video frame with a text box overlay and the text tool activated in the toolbar }
Type your text. The formatting controls appear in the right panel, where you can change font size, color, and style. Want the text centered? Drag it to the middle of the frame. Need it bigger? Grab the corner handles and resize.
Text appears as its own clip on the timeline, on a layer above your video. Shorten or lengthen how long the text displays by dragging its edges, just like trimming a video clip. Move it left or right to change when it appears during playback.
Working with Multiple Video Tracks
Picture-in-picture effects, overlays, and complex compositions need multiple video layers. The timeline supports this by letting you add video tracks above your main footage.
Click the “+V” button in the timeline’s track section. A new video track appears above the existing one. Drag a clip from your media library to this upper track. The clip plays on top of whatever’s on the lower track.
Resize and reposition the upper clip using the preview monitor. Click the clip to select it. Handles appear at the corners. Drag these to make the clip smaller, creating a picture-in-picture effect. Drag from the center to move the clip anywhere on screen.
This technique works for editing reaction videos, tutorial overlays, or showing multiple angles of the same event. The upper clip can be any size and position. Make it full screen to create a hard cut, or keep it small in the corner to show both videos simultaneously.
Adjusting Audio Levels
Background music drowning out dialogue, or someone speaking too quietly, ruins an otherwise good video. Audio mixing fixes these problems.
Click the “Audio” tab in the right panel. Each track in your timeline gets its own volume slider. Drag a slider down to reduce that track’s volume. Drag it up to increase volume. The changes apply to the entire track.
SCREENSHOT: { Right panel showing the Audio mixer with multiple track volume sliders and a master volume control }
For more control, add an audio track specifically for music or sound effects. Click “+A” in the track section. Import an audio file to your media library, then drag it to the new audio track. Now you have separate volume controls for your video’s original audio and the added music.
The master volume slider controls overall output. Use it to ensure your final video doesn’t peak into distortion. Play through your edit and watch the audio meters. If they hit the red zone, pull the master volume down slightly.
Adding Professional Touches
Applying Transitions Between Clips
Hard cuts work fine for most edits, but transitions add polish. A fade smooths the jump between scenes. A cross dissolve blends one clip into the next.
Click the “Transitions” tab in the right panel. Several transition types appear. Click one to preview how it looks. When you find one you like, drag it from the panel down to the timeline, dropping it between two clips.
I think fade to black at the start and end of your video looks particularly professional. Add a fade transition at the very beginning of your first clip and the very end of your last clip. This eases viewers into and out of your content instead of starting and stopping abruptly.
Using Effects and Filters
Effects change how your video looks. Color correction makes footage brighter or adds contrast. Blur can hide sensitive information or create artistic looks.
Select a clip on the timeline by clicking it. The clip highlights to show it’s active. Click the “Effects” tab in the right panel. Available effects appear as a list.
SCREENSHOT: { Effects panel showing various video effect options with sliders for adjustments like brightness and contrast }
Click an effect to apply it to the selected clip. Sliders appear letting you adjust the effect’s intensity. The preview monitor updates in real time as you drag sliders, so you see exactly how the effect looks.
Effects apply only to the selected clip. To use the same effect on multiple clips, select and apply it to each one individually. This gives you precise control over which parts of your video have effects and which don’t.
Generating Subtitles Automatically
Subtitles make your video accessible and improve engagement. Believe it or not, a lot of people watch social media videos with sound off, so captions ensure they still understand your content.
Click “Tools” in the top menu, then select “Generate Subtitles (Free)”. The editor analyzes your video’s audio and creates subtitle text automatically. This can take quite a while depending on your video’s length. Expect 10-15 minutes for a 10 minute video.
When finished, subtitles appear on the timeline and in the left panel under the “Subtitles” tab. Each line of text shows the timestamp where it appears in the video. Click any subtitle to edit the text if the automatic transcription made mistakes.
The subtitles overlay on your video during playback. They appear and disappear at the timestamps the generator determined. You can adjust timing by editing the timestamp values, or delete subtitles you don’t want by clicking the remove button.
Editing Your Video by Subtitles
You can also edit your video by clicking on words you want to delete, and automatically cutting that part of the video. This allows you to edit much faster without having to watch the video over and over.
Exporting Your Finished Video
After editing, you need to export your work as a video file you can share. The export process combines all your edits, effects, and transitions into a single video file.
Click “File” in the top menu, then “Export Video”. The export dialog opens with quality settings. The default 1080p resolution works for most purposes. If your original footage was 4K, you can export at higher resolution.
SCREENSHOT: { Export dialog showing resolution options, format settings, and the export button }
Click the “Export” button. A progress bar appears showing the export status. The process takes time proportional to your video length and chosen quality. A one-minute video at 1080p typically exports in about 1 minute.
When export completes, your browser downloads the video file automatically. It saves to your default downloads folder, ready to upload to YouTube, Instagram, or wherever you plan to share it.
By default, the export process happens locally in your browser. Your edited video never uploads to a server, which means complete privacy. Your content stays on your computer the entire time.
Tips for Better Video Edits
Keep your cuts tight. New editors often leave too much dead time between actions. If nothing’s happening on screen, cut it out. Viewers have short attention spans. A fast-paced edit holds attention better than one that drags.
Use keyboard shortcuts to speed up your workflow. Press spacebar to play and pause. Press C to cut at the playhead. Press Delete to remove selected clips. These shortcuts save the constant back-and-forth between mouse clicks and timeline scrubbing.
Watch your edit all the way through before exporting. You’ll catch awkward cuts, audio problems, or text that appears too briefly. Play it once for technical issues, then play it again imagining you’re seeing it for the first time. Does it make sense? Does it flow?
Start simple. Your first few edits don’t need fancy transitions and complex effects. Master the basics first: cutting, arranging clips, adjusting audio. Once those feel natural, add more advanced techniques.
Frequently Asked Questions
Do I need to install anything to edit videos online?
No installation required. VidTL run entirely in your web browser. Open the website, import your videos, and start editing immediately. This works on any computer with a modern browser, whether you’re using Windows, Mac, or Linux. You don’t need admin privileges or permission to install software.
What video formats can I edit in a browser editor?
VidTL works with MP4 & WebM videos. It will automatically convert other formats into mp4 when you import them. It does not delete or modify the original files of any videos imported. These are the formats smartphones and cameras typically record.
Is there a file size limit for videos I want to edit?
VidTL process files locally on your computer, so the limit depends on your available RAM rather than upload restrictions. Most modern computers handle videos up to several gigabytes without problems. If your video is extremely large, like a 4K recording over an hour long, you might experience slowdowns. In that case, you can convert the original file into a lower resolution to use while editing, and export using the higher quality file.
Will my videos upload to someone else’s server when I edit online?
Not with VidTL. The editing happens entirely in your browser. Your video files never leave your device during the editing process. They only transmit data if you explicitly choose to save a project to the cloud or use a cloud request. This local processing also means editing works even if your internet connection is slow or drops entirely.
Can I edit videos on my phone or tablet using a browser editor?
VidTL works best on desktop or laptop computers. The interface uses drag-and-drop heavily and requires precision clicking, which touch screens make difficult. Some features like timeline scrubbing and precise cutting become frustrating on small screens. If you only have a mobile device, may have better results with a mobile-specific video editing app designed for touch input. While some people do use VidTL on their tablets or phones, it is currently buggy. We do plan on improving the mobile experience when we have time. If we do, we will update this. (2026-01-19)
Conclusion
Online video editing removes the barriers that traditional software creates. No downloads, no subscriptions, no compatibility problems. You open a browser tab and edit your videos using professional tools that would have cost hundreds of dollars just a few years ago.
The techniques covered here handle most common editing scenarios. Trimming footage, adding text, mixing audio, and applying transitions give you everything needed for social media content, presentations, or personal projects. More advanced features exist if you need them, but these basics take you surprisingly far.
Start with simple edits and build your skills gradually. Every professional video editor started by learning how to cut a clip and add a title. The complexity comes later, once the fundamentals feel automatic. Your first edit might take an hour. Your tenth will take fifteen minutes. The tools stay the same; you just get faster at using them.