How to Normalize Audio Levels in Video Online Free
Fix inconsistent volume and create professional-sounding videos without downloading software
Nothing ruins a video faster than jarring volume changes. One moment your viewers are straining to hear dialogue, the next they're scrambling to turn down their speakers because the music is blasting. Audio normalization solves this problem by automatically balancing all sound levels to a consistent target volume.
With VidTL's free online video editor, you can normalize audio levels directly in your browser without installing any software. The entire process takes just a few clicks and works with any video format.
What is Audio Normalization?
Audio normalization analyzes the volume levels across your entire video and adjusts them to match a target level. Think of it as an automatic volume adjuster that brings quiet parts up and loud parts down, creating a smooth, consistent listening experience.
× Before Normalization
- • Dialogue too quiet to hear clearly
- • Music drowns out speaking parts
- • Sudden volume spikes startle viewers
- • Inconsistent levels between clips
✓ After Normalization
- • Clear, audible dialogue throughout
- • Balanced music and voice levels
- • Smooth transitions between sections
- • Professional sound quality
How to Normalize Audio in Video (Step by Step)
Open VidTL Editor
Navigate to vidtl.com/editor in your web browser. The editor works on any modern browser including Chrome, Firefox, Safari, and Edge. No account required to get started.
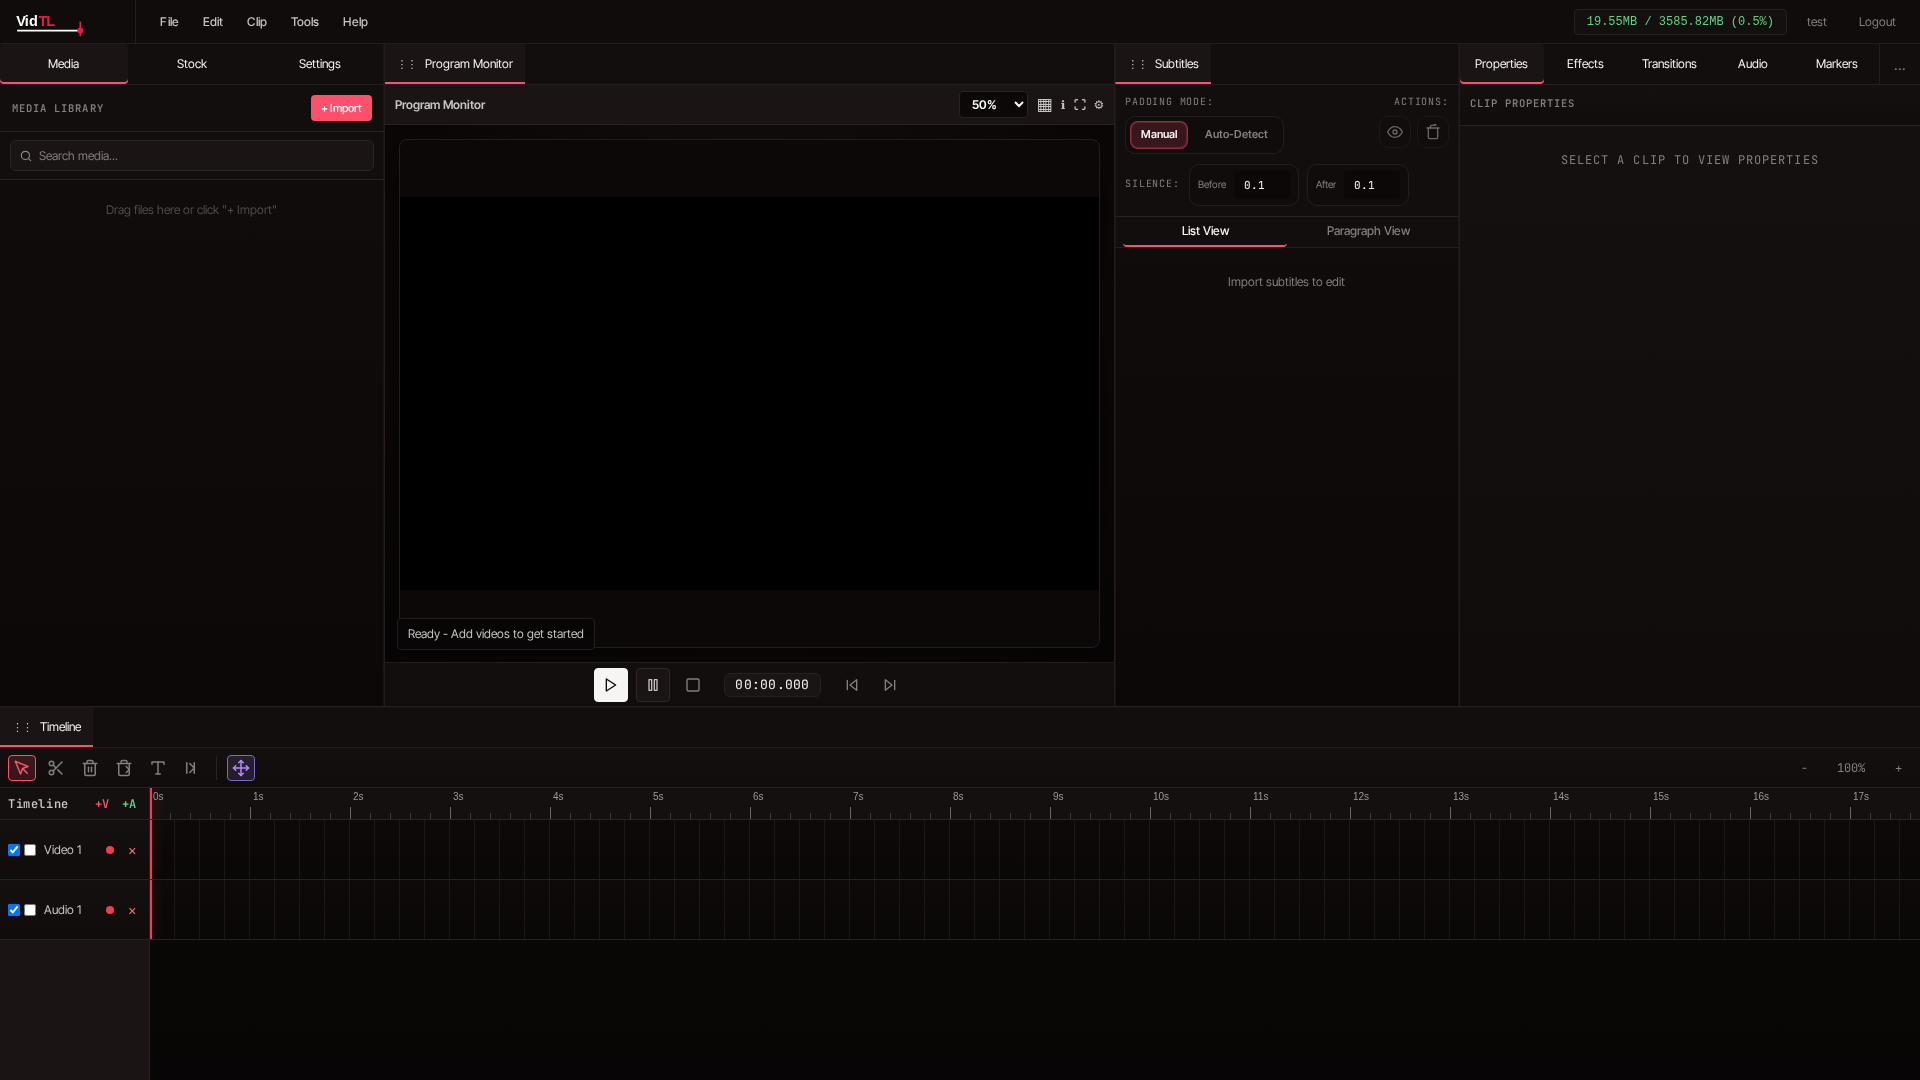
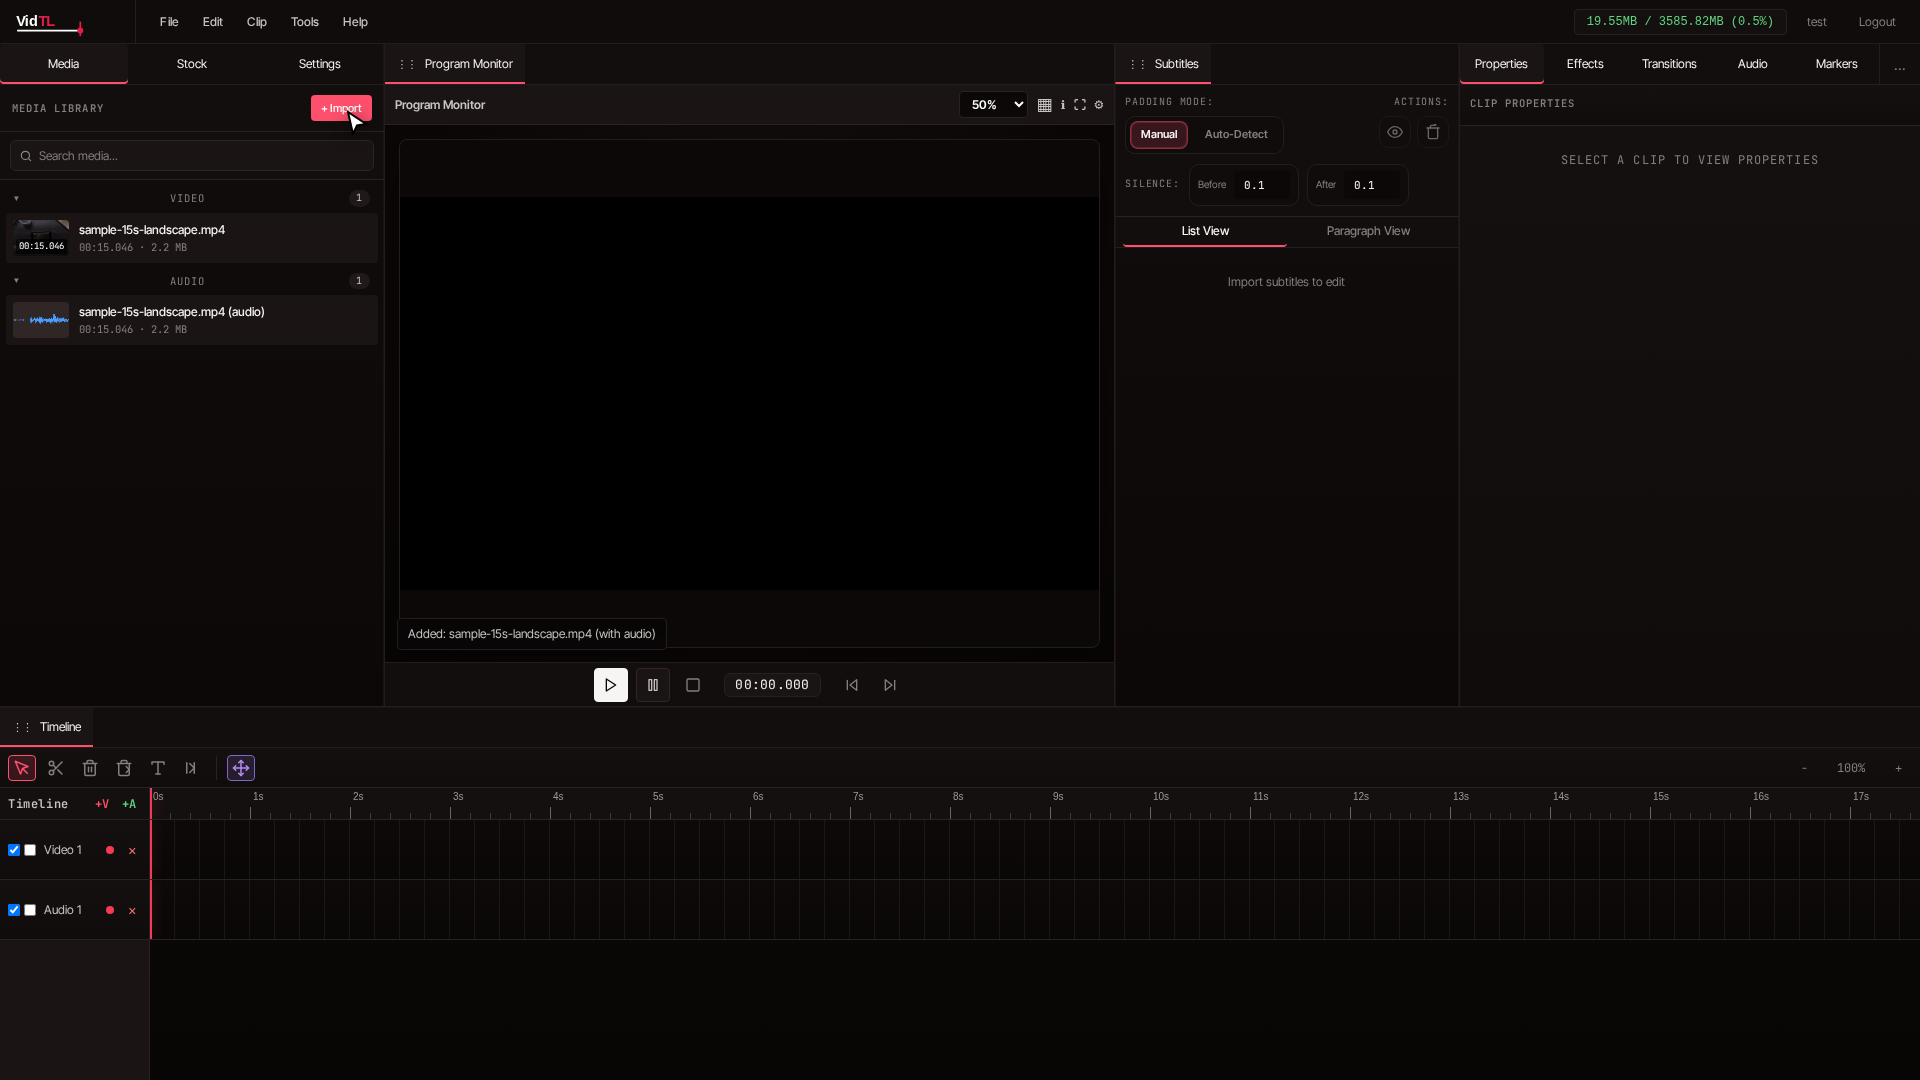
Import Your Video
Click the blue "+ Import" button in the media library panel on the left side of the screen. Select your video file from your computer. The editor supports MP4, WebM, MOV, and other common video formats.
Tip: You can import multiple videos at once if you need to normalize audio across several clips. Just select multiple files when importing.
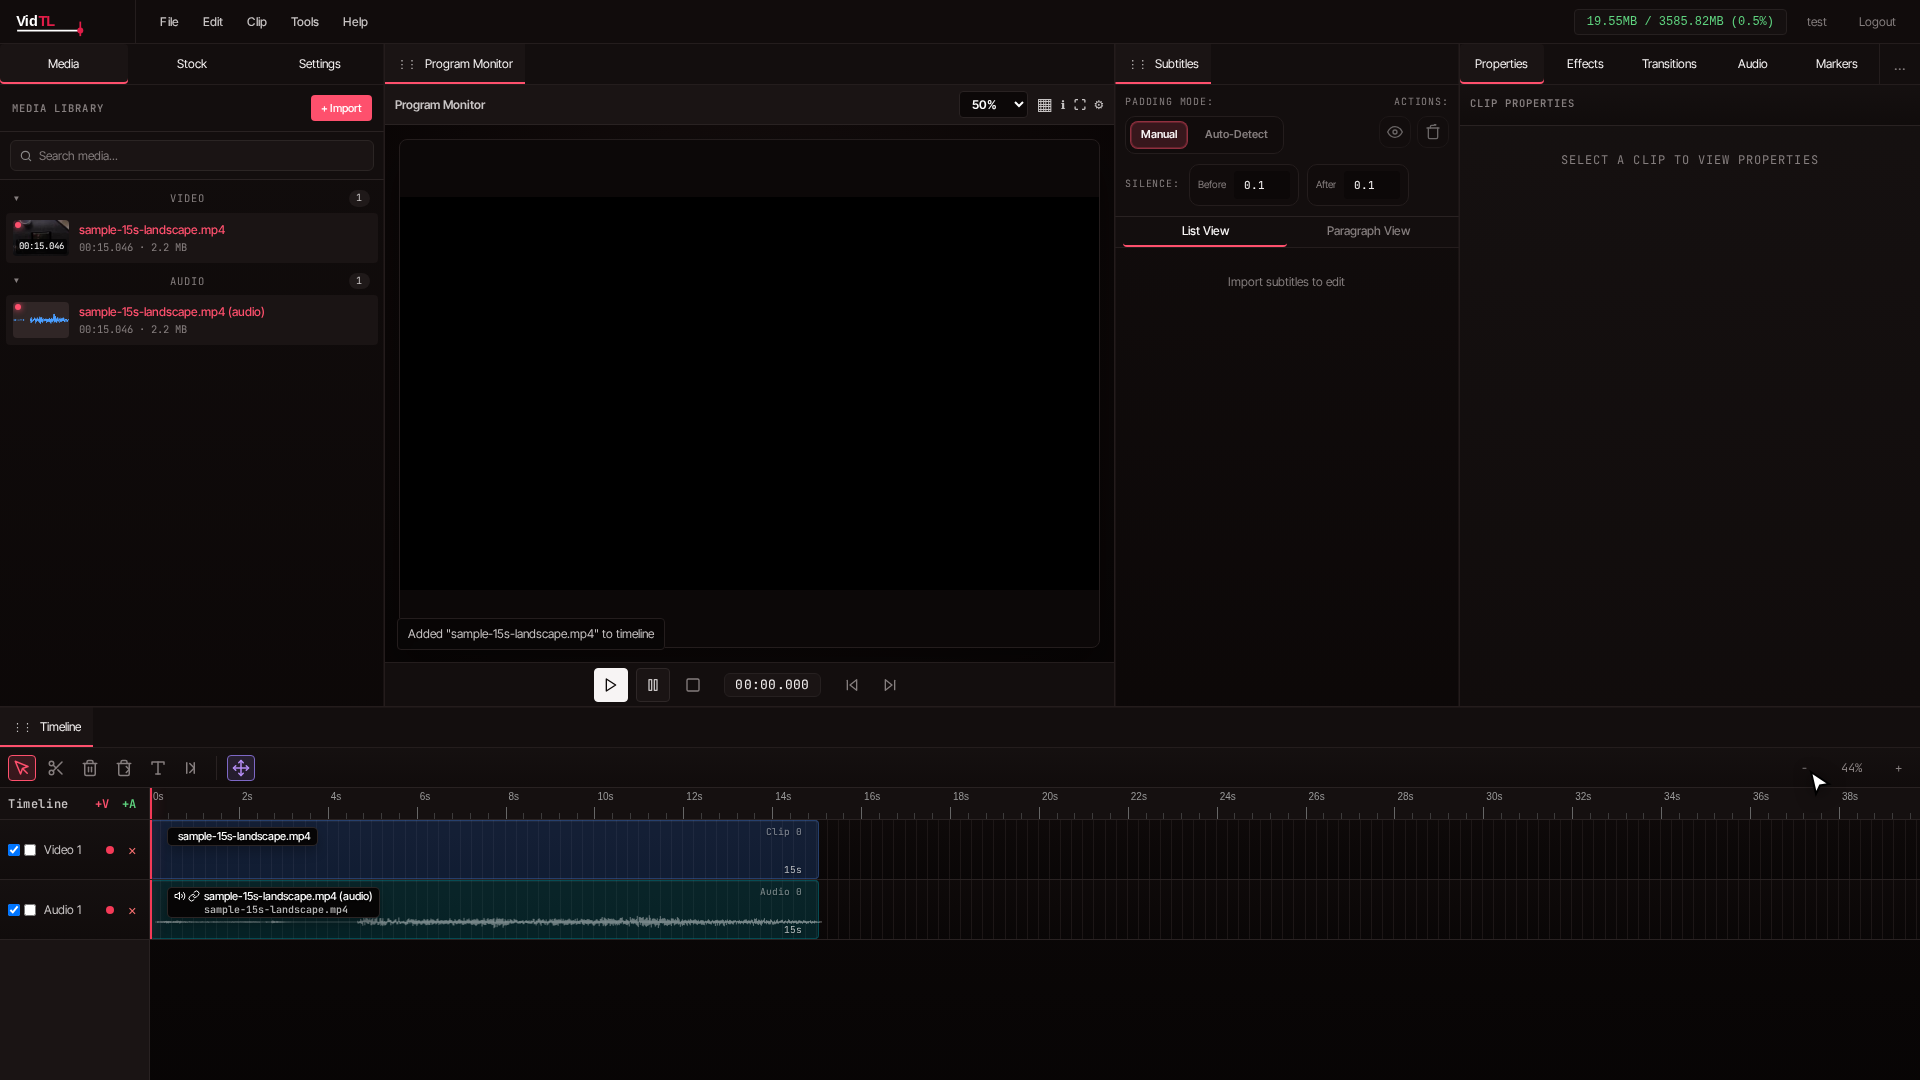
Add Video to Timeline
Drag your video from the media library down to the timeline at the bottom of the screen. The clip will appear as a blue bar on the timeline with audio waveforms visible if your video contains sound.
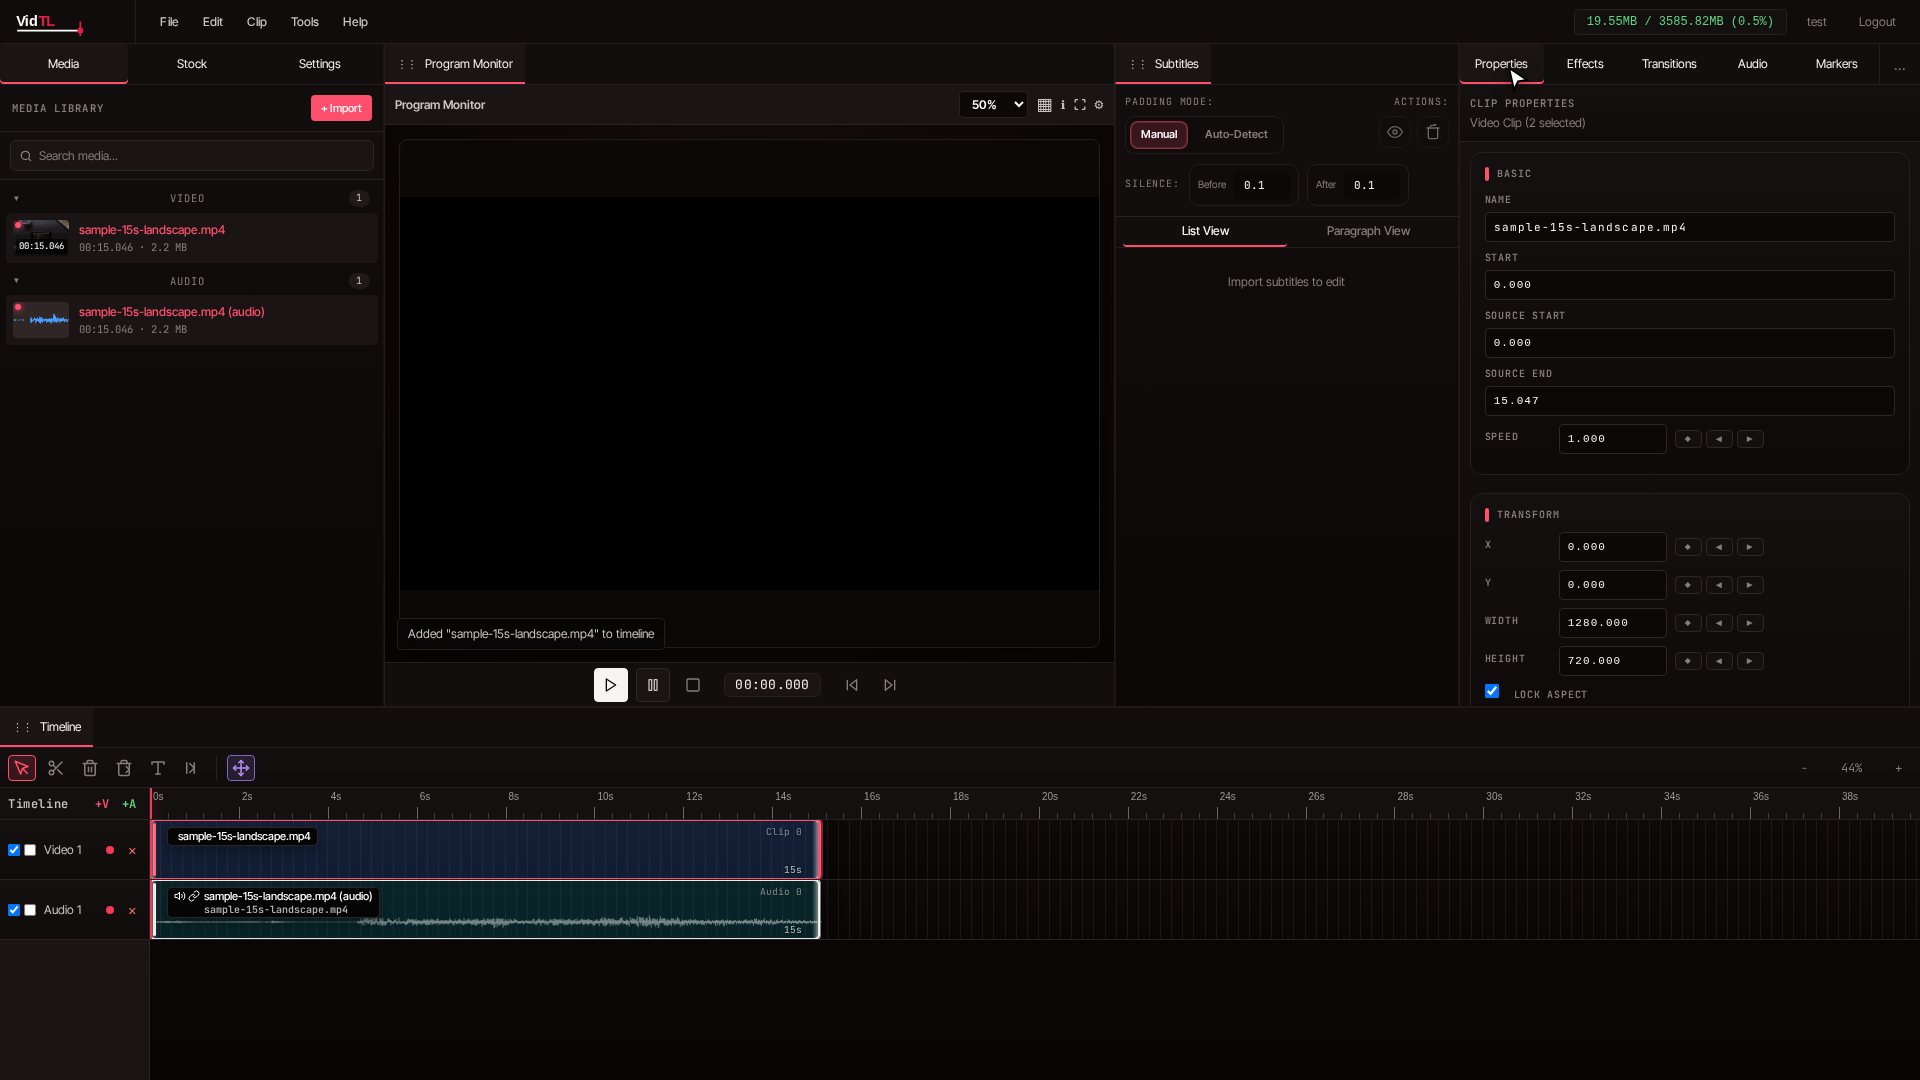
Select Your Clip
Click on the video clip in the timeline to select it. The selected clip will have a highlighted border, typically shown in a brighter color to indicate it's active and ready for editing.
Open the Normalize Audio Tool
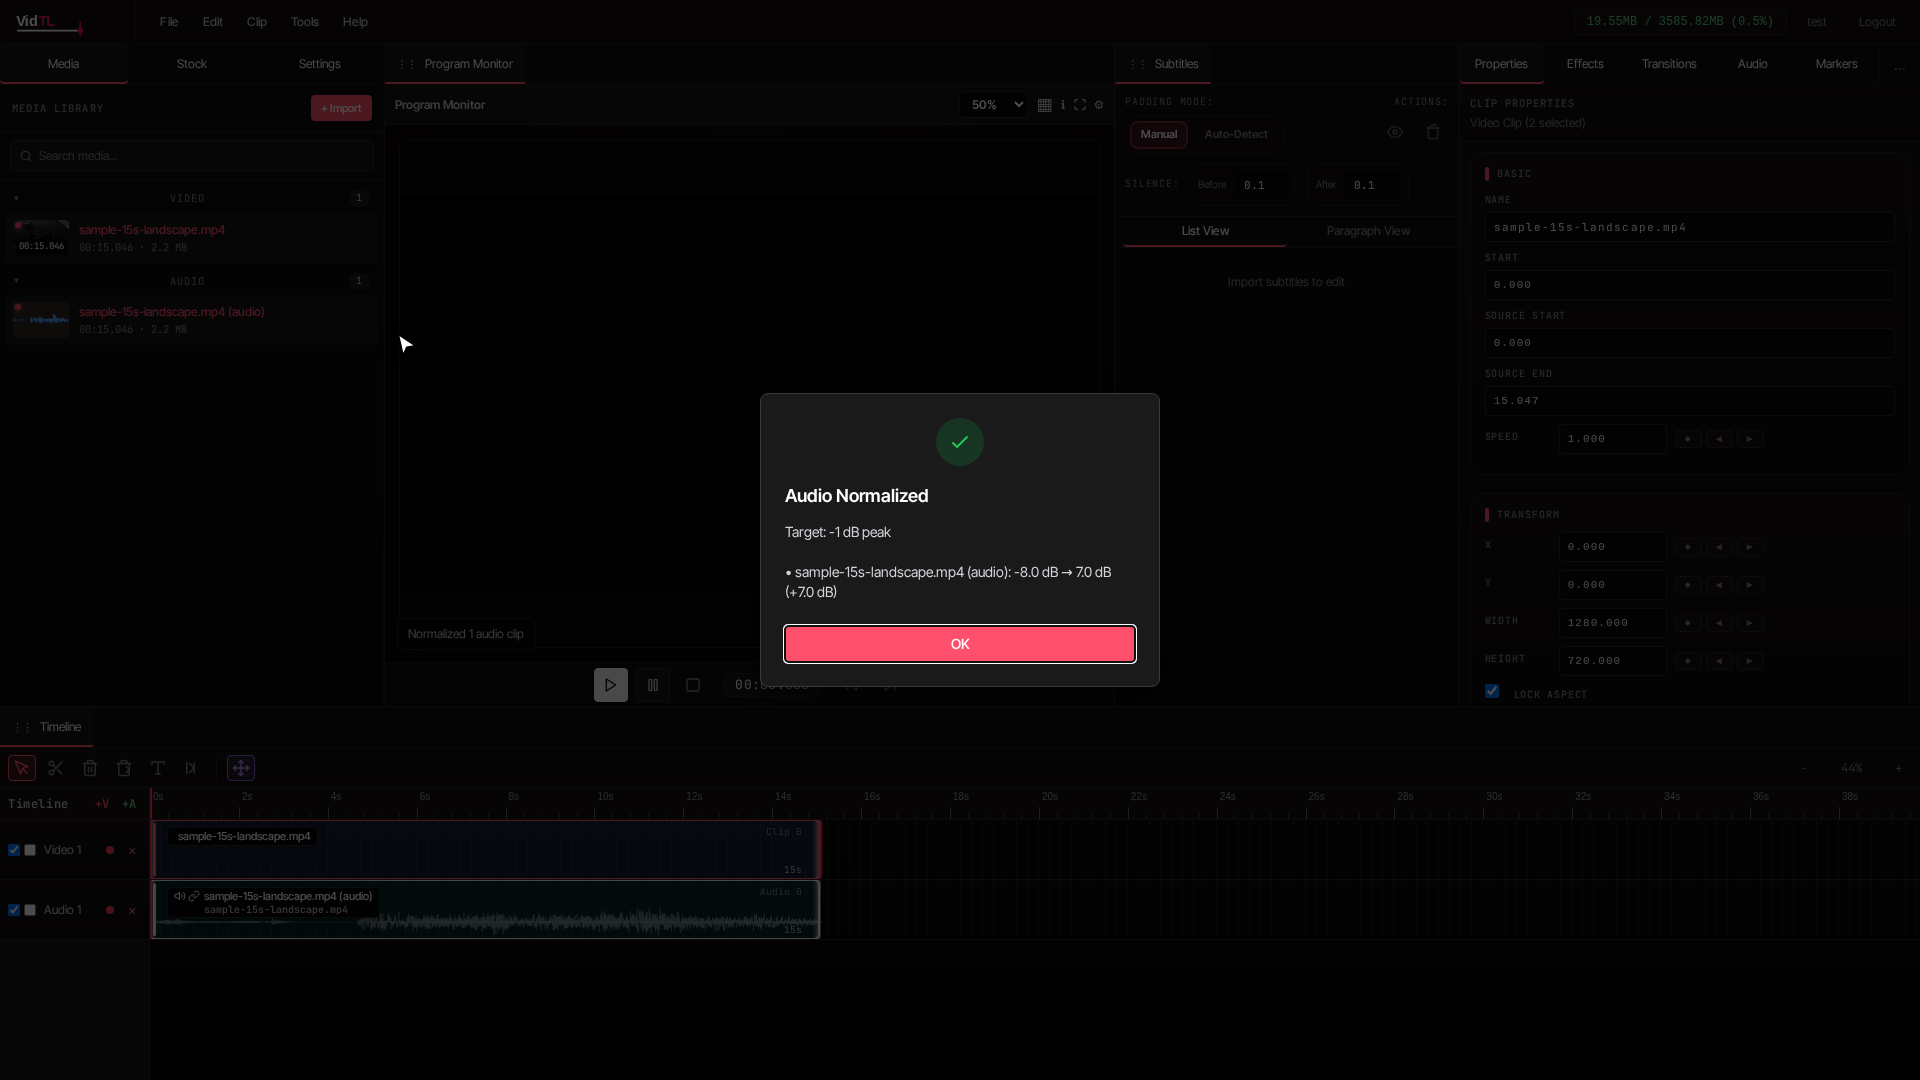
With your clip selected, click "Tools" in the top menu bar, then select "Normalize Audio" from the dropdown menu. This opens the audio normalization dialog.
Apply Normalization
The normalization process begins automatically. The editor analyzes your audio track, identifies the peak and average volume levels, then adjusts the entire audio to match standard broadcast levels. You'll see a progress indicator as it processes.
Processing time: Normalization typically takes 10-30 seconds depending on video length. The process happens entirely in your browser, so your video never leaves your computer.
Preview and Fine-Tune
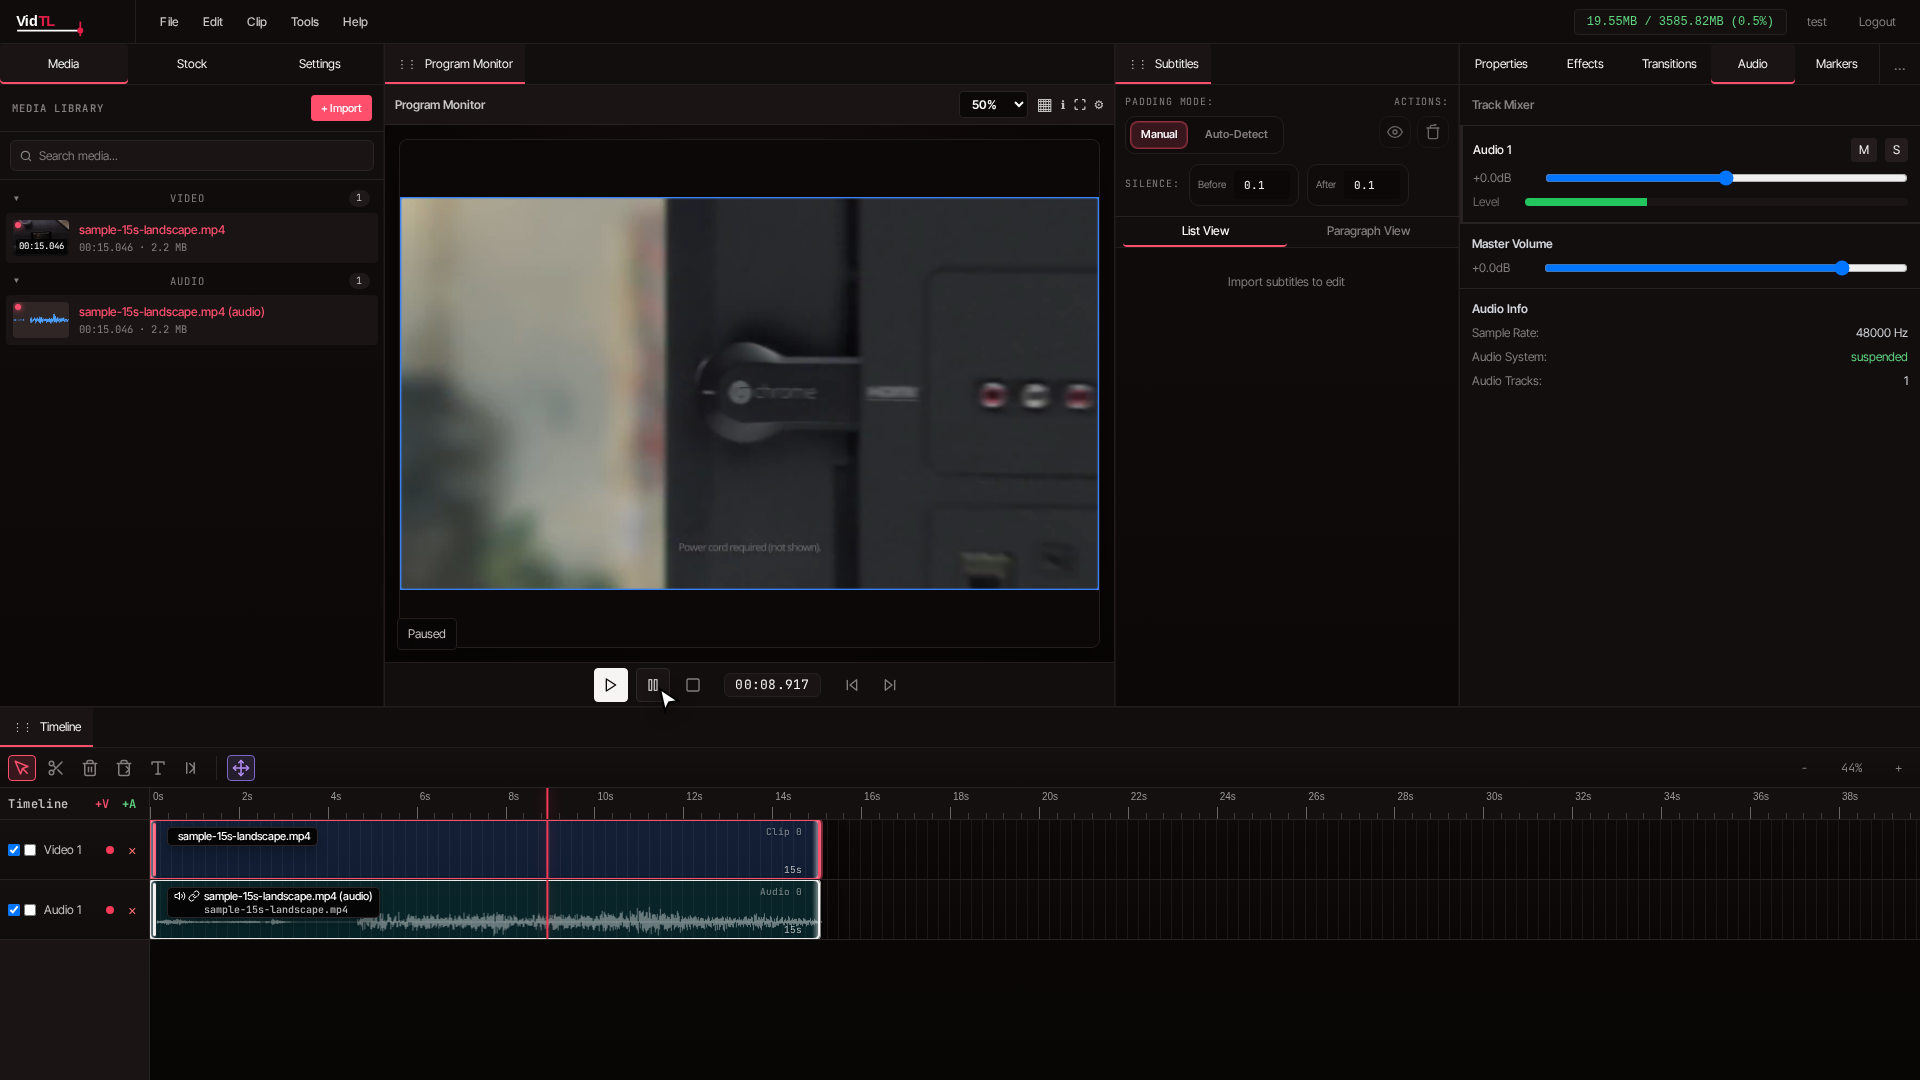
After normalization completes, press the spacebar or click the play button to preview your video. Listen carefully to ensure all audio sections are now at a comfortable, consistent level. If you need more control, you can adjust individual clip volumes using the audio panel on the right side.
Export Your Video
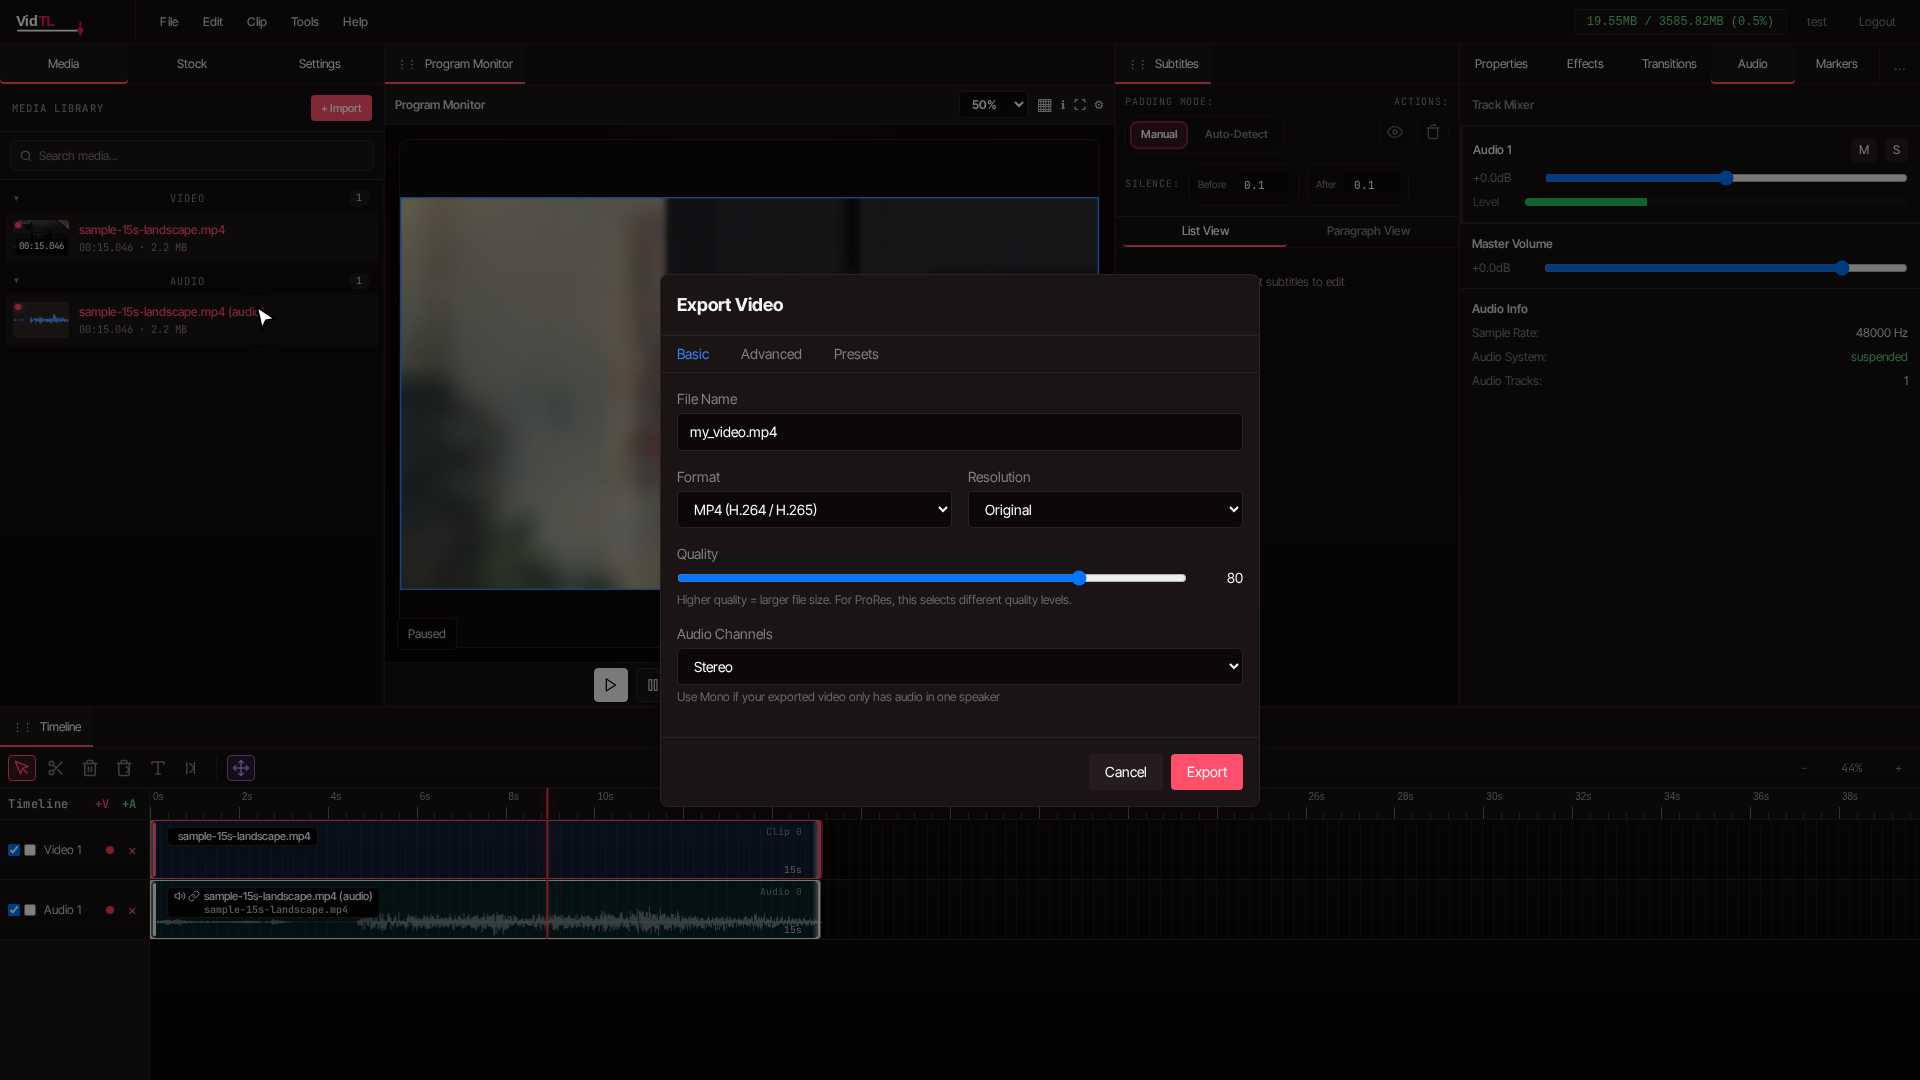
Once you're happy with the normalized audio, click "File" in the top menu, then select "Export Video." Choose your preferred format (MP4 is recommended for maximum compatibility), quality settings, and resolution. Click "Export" to download your video with perfectly balanced audio.
When Should You Normalize Audio Levels?
Perfect For:
- Podcast episodes with varying microphone levels
- Interviews where guests recorded with different equipment
- YouTube videos combining multiple clips from different sources
- Screen recordings with inconsistent system audio
- Social media videos that need to grab attention immediately
- Tutorial videos where voice and system audio conflict
Additional Benefits:
- Faster than manually adjusting each clip
- Meets broadcast standards for platforms like YouTube
- Reduces viewer complaints about volume
- Improves watch time as viewers don't drop off due to bad audio
- Creates a more professional presentation
Pro Tips for Better Audio
Check Multiple Sections
Don't just listen to the beginning. Scrub through different parts of your video after normalization to ensure consistent volume throughout. Pay special attention to transitions between clips.
Use Headphones
Preview your normalized audio with good headphones to catch subtle volume issues that speakers might miss. This helps you identify any remaining inconsistencies before exporting.
Save Your Project
Use VidTL's "Save Project" feature before normalizing. This creates a backup you can return to if you need to make different adjustments later without starting over.
VidTL vs Other Audio Normalization Tools
| Feature | VidTL | Desktop Software | Mobile Apps |
|---|---|---|---|
| Free to Use | ✓ | ✗ | Limited |
| No Installation Required | ✓ | ✗ | ✗ |
| Works on Any Device | ✓ | ✗ | Phone only |
| Privacy (Local Processing) | ✓ | ✓ | ✗ |
| Learning Curve | Easy | Steep | Moderate |
| Additional Editing Features | ✓ | ✓ | Limited |
Frequently Asked Questions
Will audio normalization reduce the quality of my video?
No. Audio normalization only adjusts volume levels without compressing or degrading the original audio quality. Your video's resolution, frame rate, and audio bitrate remain unchanged. The process simply makes quiet parts louder and prevents loud parts from clipping, resulting in a more consistent listening experience without sacrificing quality.
Can I normalize audio for videos longer than 10 minutes?
Yes. VidTL can normalize audio in videos of any length. However, processing time increases with video duration. A 10-minute video typically takes about 30-60 seconds to normalize, while longer videos may take a few minutes. The entire process happens in your browser, so performance depends on your computer's capabilities.
What's the difference between normalization and compression?
Normalization adjusts the overall volume of your audio to reach a target level without changing the dynamic range. Compression reduces the difference between the loudest and quietest parts, making everything more uniform. Normalization is better for fixing videos that are simply too quiet or too loud overall. Compression works better when you have extreme volume variations within the same video that normalization alone can't fix. VidTL offers both tools depending on your needs.
Do I need to create an account to normalize audio?
No account is required to use VidTL's basic audio normalization features. You can import videos, normalize audio, and export your finished video completely free without signing up. Creating a free account gives you access to additional features like cloud project saving, priority rendering, and advanced audio tools, but it's not mandatory for basic normalization.
What happens if my normalized audio still sounds unbalanced?
If normalization alone doesn't fix your audio issues, you likely need additional adjustments. Switch to the Audio panel in VidTL's right sidebar to access the track mixer. Here you can manually adjust volume levels for specific sections, apply fade effects, or use audio filters. For videos with multiple audio sources (like dialogue and background music), you may need to separate these onto different tracks and adjust each independently before normalizing.
Start Creating Professional-Sounding Videos Today
Inconsistent audio levels don't have to ruin your videos anymore. With VidTL's free online audio normalization tool, you can fix volume issues in minutes without downloading software or learning complex audio engineering. The tool works entirely in your browser, keeps your videos private, and delivers professional results that meet broadcast standards.
Whether you're creating YouTube videos, podcasts, social media content, or professional presentations, normalized audio makes your content more enjoyable to watch and helps retain viewers. The process takes just a few clicks, and the difference in perceived quality is immediate.
Ready to fix your audio?
Open VidTL editor, import your video, and normalize your audio in under a minute. Your audience will thank you.
© 2026 VidTL. Free online video editor for creators.